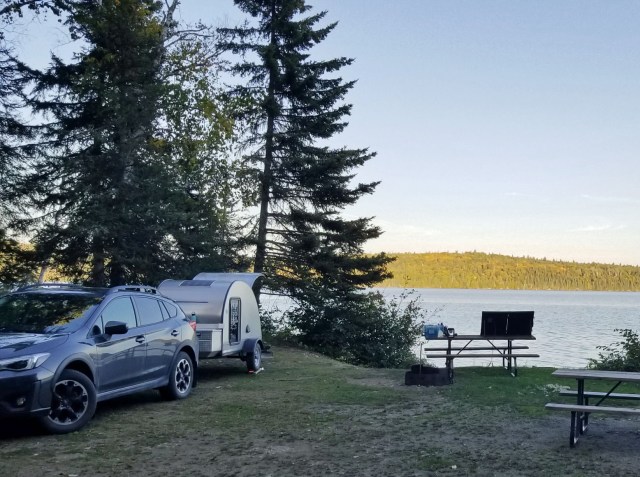
If you have a solar panel on the roof of your teardrop camper plus a portable panel you move around, why not use them both to simultaneously charge the batteries? Turns out there’s a few reasons why it’s not so straightforward, but that doesn’t mean it can’t be done. Here’s how I made it work.
Do you remember reading Auxiliary Solar Panel: Big Improvement I posted a couple years ago? Well it was, and continues to be, a big improvement…both for the longevity of road trips without hookups, and for the health of my batteries.
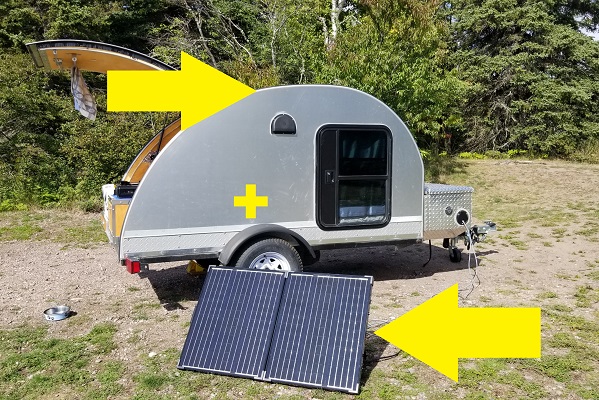
Like many portable solar panels, mine is basically just two rigid monocrystalline panels hinged together with adjustable tilt arms attached. Rigid panels are more efficient than flexible panels, like what is on the trailer roof. If you had two 100w panels, one of each type, laid flat at the same angle to the sun, the rigid one would consistently output more power.
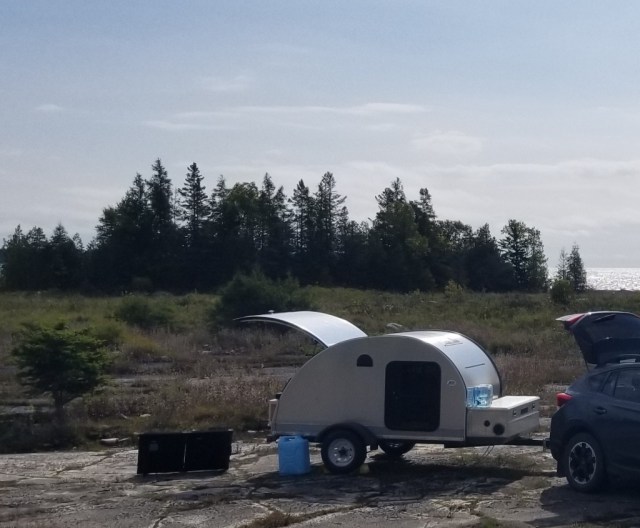
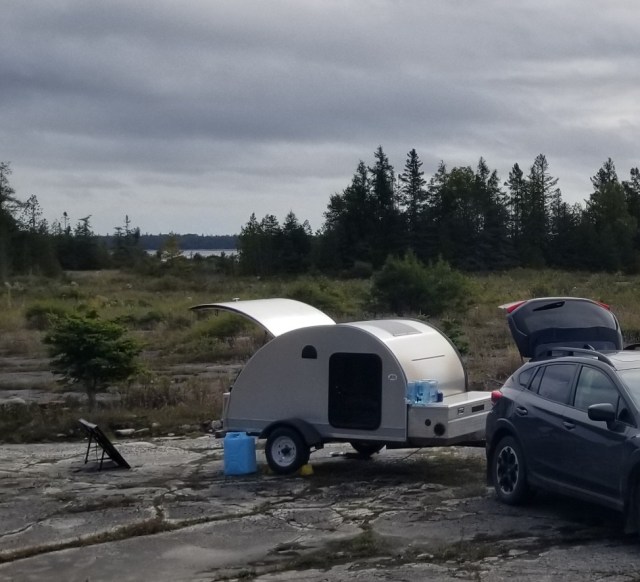
But the real bonus of portable panels, of course, is that you can move them around. So if your teardrop is camped-out in the shade you can seek direct light as far as the cables will let you. Plus you can change the orientation of the panels, as the sun moves throughout the day, to maximize light rays hitting the panel at 90º.
For my setup, given the efficiency of the rigid portable panel, even just this one 100w panel is usually sufficient to fully charge my two batteries on a clear sunny day—and that’s in autumn, not even peak summer. But when there isn’t direct sun, say like an overcast but bright-ish day, it sure would be great if both panels were contributing to the charge. Especially since MPPT charge controllers, like what I have on-board, do a good job of harvesting a usable charge even in sub-optimal light conditions.
However, it’s not just a matter of joining together the output cables from the two panels. The “Branch Connectors” and “Y” cables available for solar wiring are intended for creating an array of panels which should not only be of the same specifications but also be aimed at the same orientation to the sun. This way, the panels are all outputting very similar voltages, flowing at similar amps, which can combine and swim along happily together to the charge controller.
But in the scenario with a flex panel on the roof and a rigid portable panel on the ground, they are of different construction and very likely to have differing output specs. And even if they did have the same specs, because they are oriented differently to the sun (plus the differing efficiencies of the panel types) the outputs of the two would inevitably be too dissimilar from each other to simply combine them.
There is a “river” metaphor for electrical flow where volts is said to be like the speed (i.e., force) at which it is flowing and amps is like how wide and deep (i.e., volume) the river is. Imagine the water turbulence when two rivers of differing sizes, flowing different speeds, come together.
Separate Charge Controller for each Panel
A solution is to use a second charge controller. At home, where I live off-grid and solar-powered, there are 3 solar arrays, each with its own charge controller, all charging one battery bank. MPPT (Maximum Power Point Tracking) controllers, because they are transforming the voltages coming in from the panels to different values they send out to the batteries for optimal charging, can work in harmony with each other assuming they both have the same output values programmed.
This dual charge controller scenario can’t really work with PWM (Pulse Wave Modulation) charge controllers because they are essentially just rapidly opening and closing the flow of electricity from panel to batteries, at whatever voltages the two panels are outputting at any given time.
(Click here for a previous post Electrical System Essentials: Solar panels and charge controllers, including MPPT vs PWM working principles.)
A consideration though, is whether it’s even worth the expense of a second MPPT charge controller, as well as the on-board space it takes up, for how often dual panels would actually be usefully employed in whatever type of teardrop camping you generally do. For me, I tend to avoid campsites with hookups, plus I like to boondock once in a while, so it was a worthwhile undertaking.
World’s Tiniest MPPT Controller?
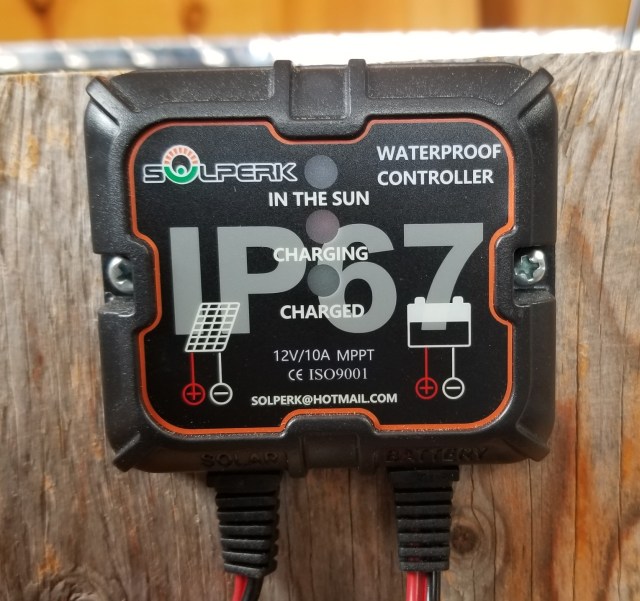
I found a possible solution last summer, inexpensive enough to take a chance on, and successfully trialled it during last fall’s 4-week road trip. This device is a very small (3 x 2½ x ¾”), very basic (3 LED indicators) MPPT charge controller with a fixed, non-programmable output (14.2V) for small solar panels (max 10A, so ideal for a 100w panel with some safety buffer). It’s also waterproof (IP67 standard).
I have a wariness of off-brand electronics found on the massive online purveyor of all things. So, before actually installing it in my teardrop trailer I put my meter on it, comparing what was coming from the panel in full sun with what the charge controller was sending to batteries. I was surprised, though in a good way, to see it was performing as stated. As far as I can tell, there is no “float” charge stage (though the product leaflet says it has “overcharge protection”, whatever that might mean); it simply applies voltage at maximum available amps until it gets batteries to 14.2 then the charged LED lights.
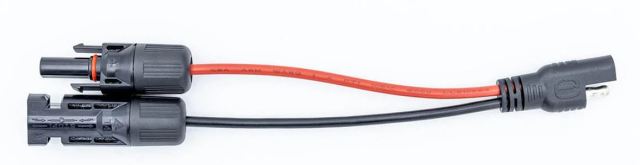
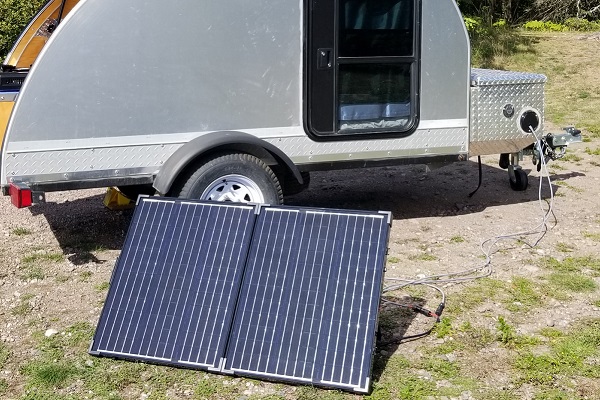
With MC4 solar wiring connectors it’s easy to swap which panel is going to which charge controller. Unfortunately the mini-charger comes with SAE connectors so I needed to retrofit them. Or if you don’t want to cut wires, just use an adapter cable like this one.
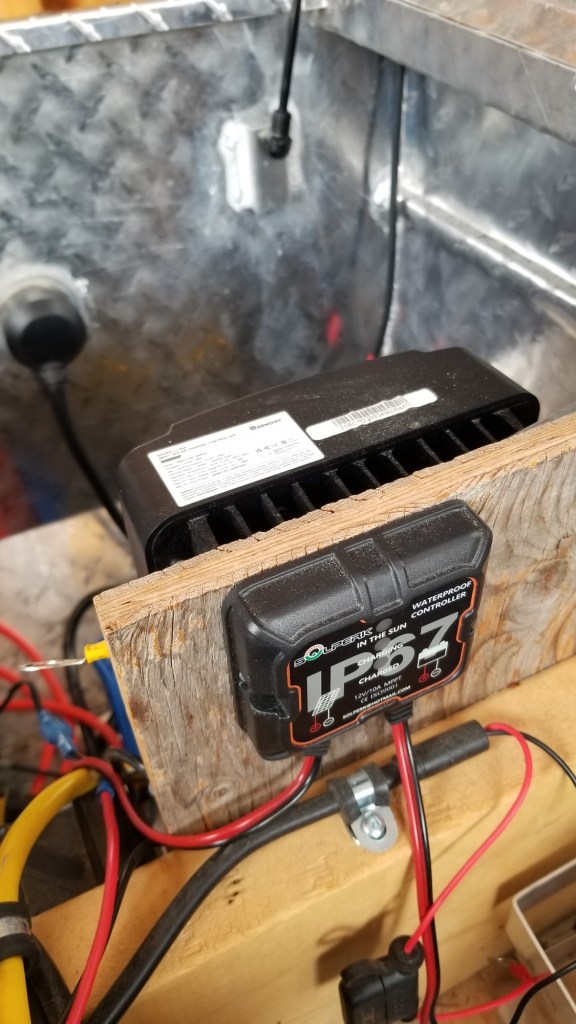
When I am employing a dual panel scenario, I connect the flexible rooftop panel (which will always underperform the rigid portable panel) to the mini MPPT controller and the portable panel to the main on-board charger (Renogy Rover 20A) which is otherwise normally connected to the rooftop panel. I let both controllers work together to get batteries to full voltage and then once the mini is indicating charged, I disconnect it and let the Rover finish up and maintain float stage for the remainder of the solar day.
The trial on last autumn’s road trip found this worked well when, for instance, the trailer was partly shaded and the portable panel was in full sun, as well as when both had direct exposure to overcast skies. And when both panels had more-or-less full sun, wow, did full charge happen so much more quickly!
So, that’s how I do things with my Teardrop Trailer but by no means the full story or the best way. What about you? Add your own methods, ideas and experiences using the comment box below for the benefit of all readers.
